

Artisan Bread with Poolish
(It's Fabulously Fermented Month!)


Hi there, friends! A sunny Southern California welcome to you all, and hello new subscribers. Every Friday, you’ll receive bright and fresh California Cuisine recipes to inspire you, no matter where you live in the world. Glad you found your way here.
In case you need them, handy dandy links:
If you’d rather listen than read, the audio is posted above and read by me, not a robot.
Life in SoCal
What’s it like to live in Southern California, you may ask? Summer is nowhere near ending. In my little corner of SoCal, we’ve got temps that are hot! hot! hot! for at least the next month. But, iced coffee is here to save the day, along with these good things:


Fermentation Month
It’s been a buzzy, fizzy, bubbly month around here with fermentation projects galore, including raspberry shrub (aka drinking vinegar), radish kimchi, and preserved fermented lemons. It’s been fun taking advantage of the summer bounty at farmers’ markets and grocery stores.


We will be very pleased with ourselves come September with a fridge full of goodies to enjoy during the fall months!
Today, we venture into fermented bread! It’s not sourdough, but it’s close.
Preferment
If the thought of making homemade sourdough bread scares you, it does me, too. I’ve read about the care and feeding of a sourdough starter and immediately thought, “I don’t have time for a toddler right now.”
Yes, I’ve heard one can be what’s called a lazy sourdough parent, but I don’t like the word lazy.
However! There are other ways to make a sourdough-like bread. Meaning, the result is not sourdough, but it’s kind of close. The good news: it’s low commitment! It involves something called a preferment.
A preferment is a mixture that is allowed to sit at room temperature for several hours, sometimes overnight. Once it starts to ferment, it’s then added to the rest of the dough ingredients before baking.
What is the benefit of a preferment? It adds a flavor and texture that is tangier, chewier, and more complex than a non-fermented dough. You could say it adds character to a bread.
There are several types of preferments. A few of them are:
Levain. If you are a sourdough parent, you are already familiar with this type of preferment made of wild yeast and good bacteria. It’s used in a sourdough starter to make sourdough bread.
Biga. An Italian word for the combo of flour and water with added commercial yeast. Not all Italian breads use biga, but certain ones like ciabatta and pandoro do. It is slightly drier and stodgier than poolish.
Poolish. This preferment is also made from flour, water, and a tiny bit of yeast. However, it is looser and wetter than biga. Pizza dough, rustic artisan breads, and sometimes baguettes use poolish.
I’ve baked with poolish many times and find that the bread and pizzas made with it have a great flavor and chew that is so satisfying!
Recipe
Artisan Bread with Poolish
Yields 1 loaf
Time: 2 days (12 hours preferment, 3 to 4 hours proofing, 45-ish minutes baking)
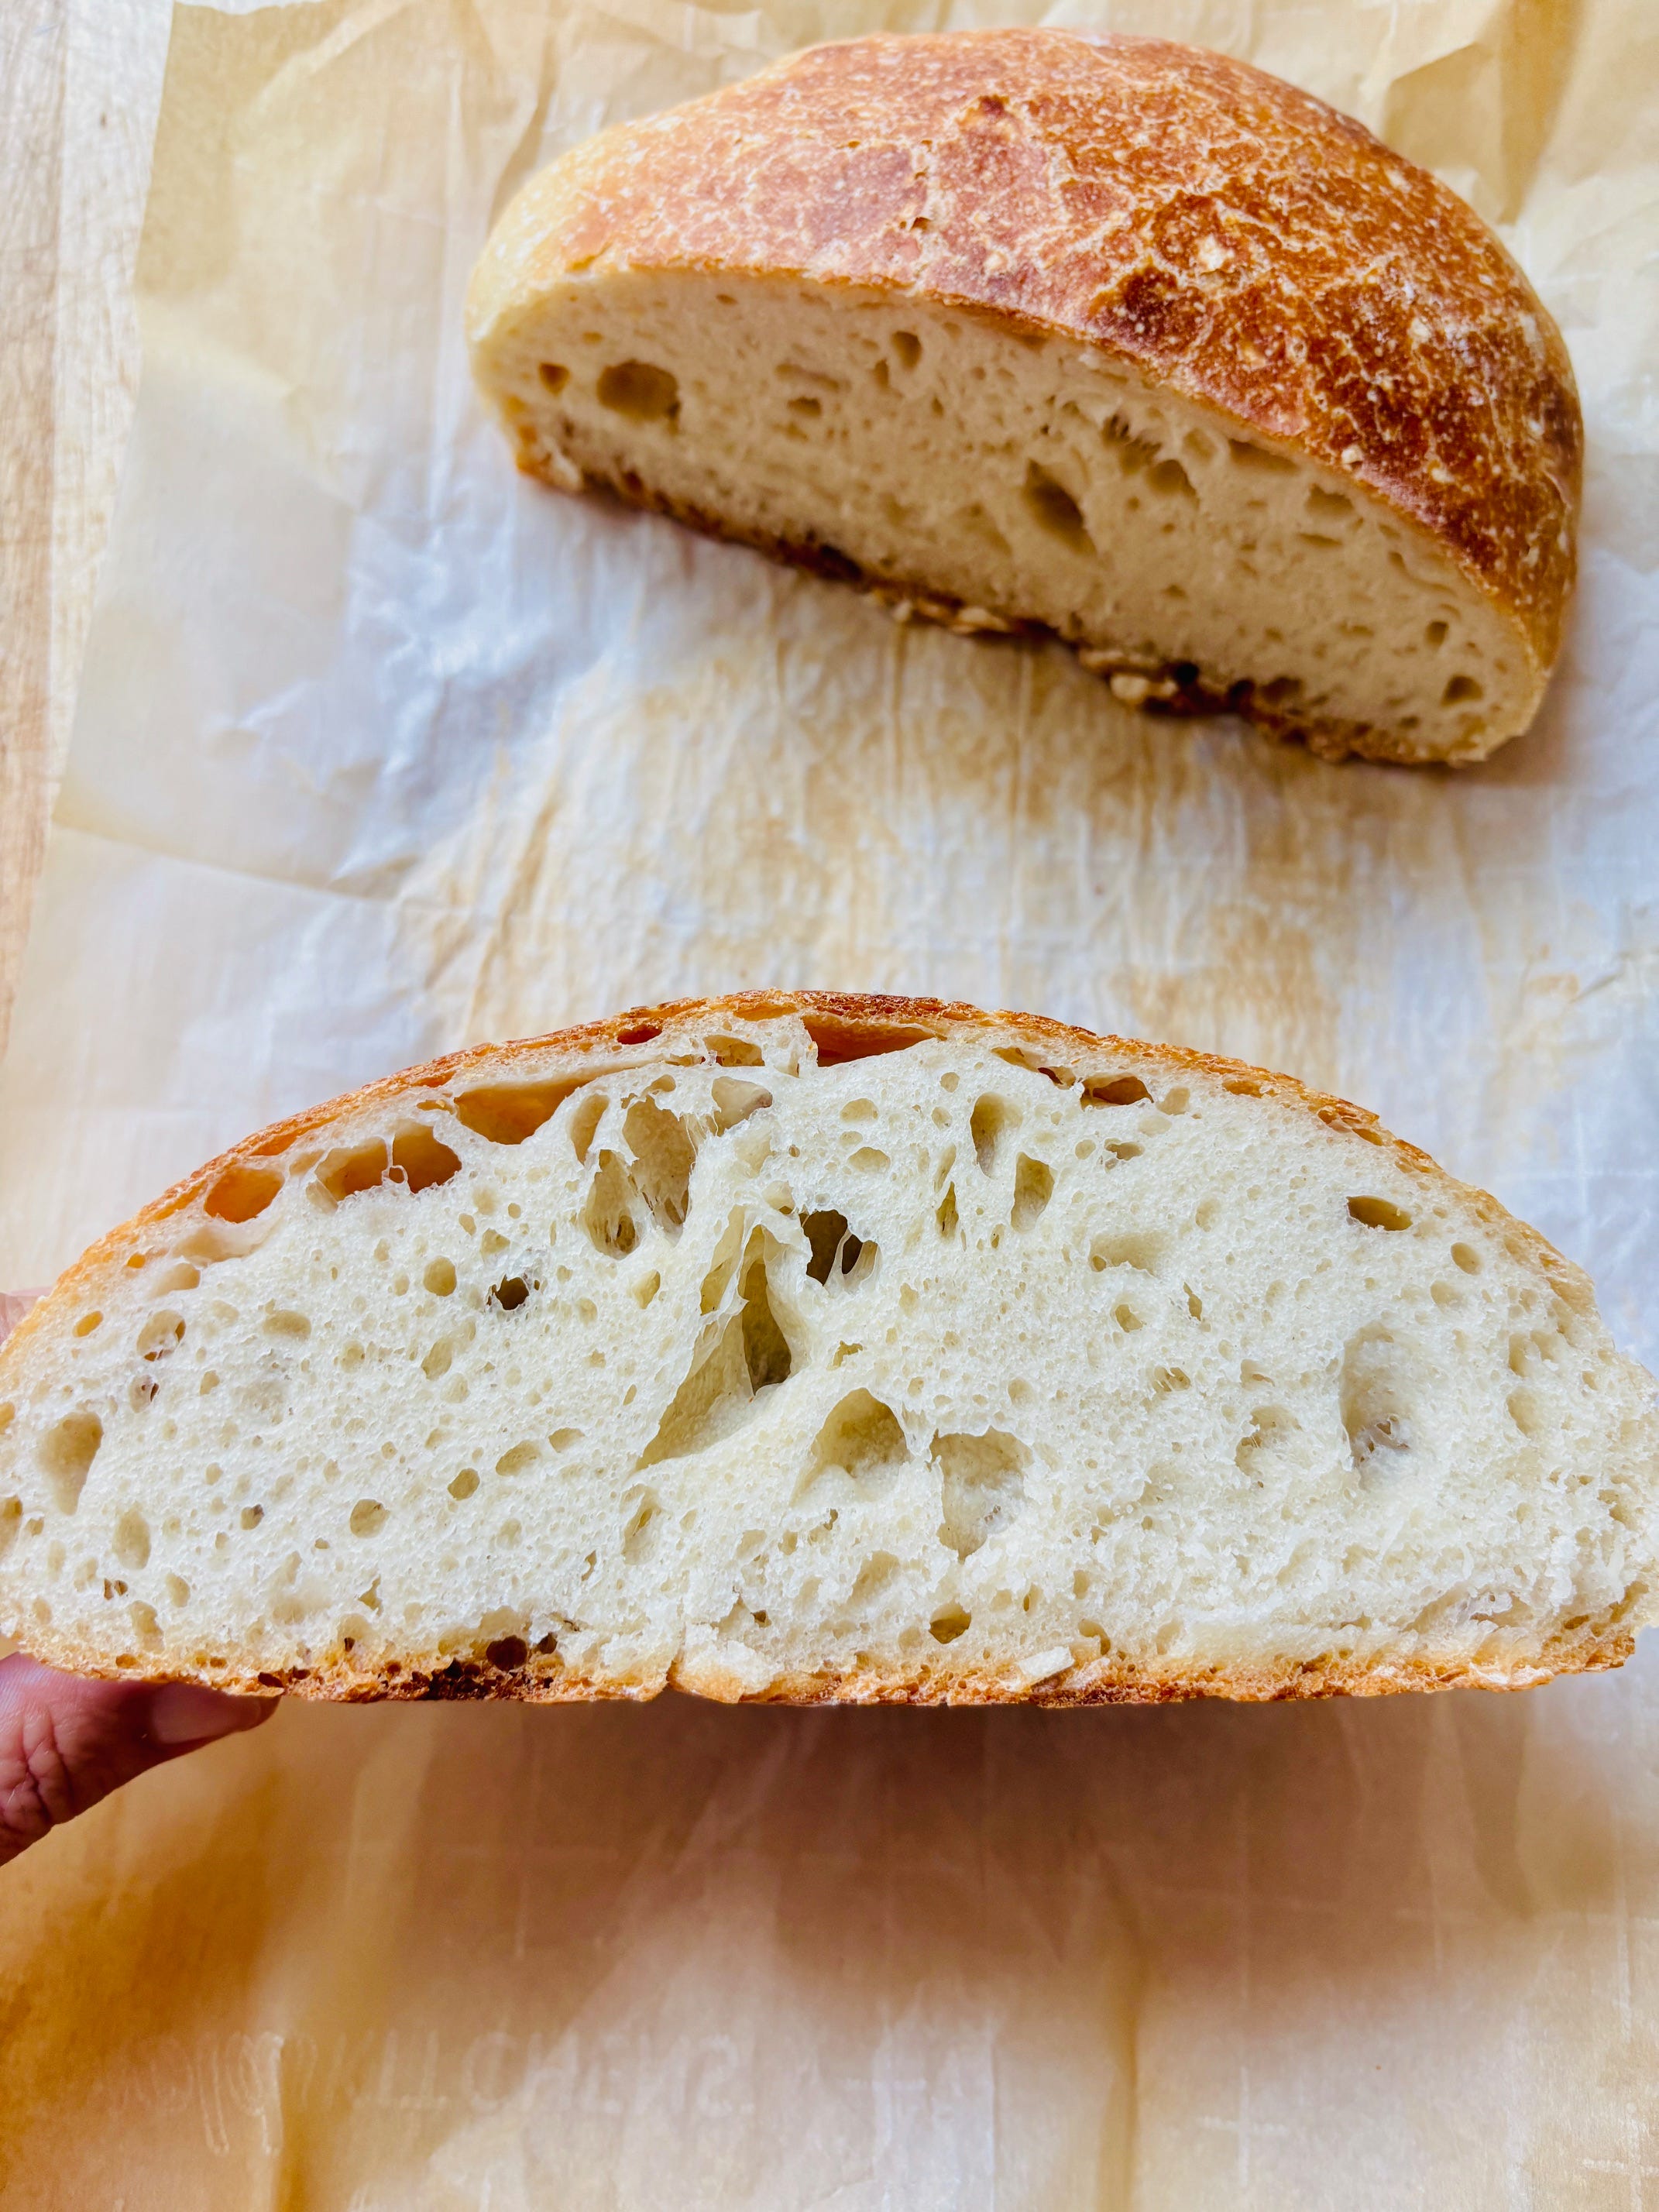
Golden and crisp on the outside, chewy on the inside! This homemade bread uses a preferment called poolish to achieve its wonderful taste and texture. Don’t be afraid of the time involved. Most of it is hands-off, and the result is so worth it!
Many thanks to Sourdough & Olives for the recipe. The original recipe is written in metric measurements. I know that not everyone owns a kitchen scale, so I have included imperial measurements as well. These are rough and less exact, but they work.
Poolish Ingredients:
150 grams (about 1 cup) bread flour
150 grams (about 2/3 cup) water
0.3 grams (about 1/16 tsp) instant yeast
Bread Ingredients:
165 grams (about 3/4 cup) lukewarm water
285 grams (about 1 3/4 cups) bread flour
9 grams (about 1 1/2 tsp) salt
Directions:
Tip the poolish ingredients into a bowl. Mix together until a sticky dough forms. Cover and let sit on the kitchen counter for 10 to 12 hours to ferment. My kitchen can sometimes get hot so I set mine on a hallway counter where the temp is consistently around 75 F/24 C. If your home is chilly, it may take up to 18 hours. The dough should double in size and have bubbles on top.


After it has fermented, add about half of the lukewarm water to the poolish and break it up, using your fingertips like a whisk. It will be stringy and clumpy at first. Add the remainder of the water and continue to integrate the poolish and the water. Tip in the flour and salt, combining everything with your hands. It will form a sticky dough.


Cover and let dough proof for 2 to 3 hours. This is a slow-rising dough! It should double in size during that time.
Carefully dump dough out onto a floured board. Dust with flour, then carefully turn over and gently shape into a boule (a fancy way of saying round). Place on a piece of parchment paper that has been dusted lightly with flour. Cover with a large upside-down bowl. Let proof for 1 hour or until a fingertip imprint partially springs back.
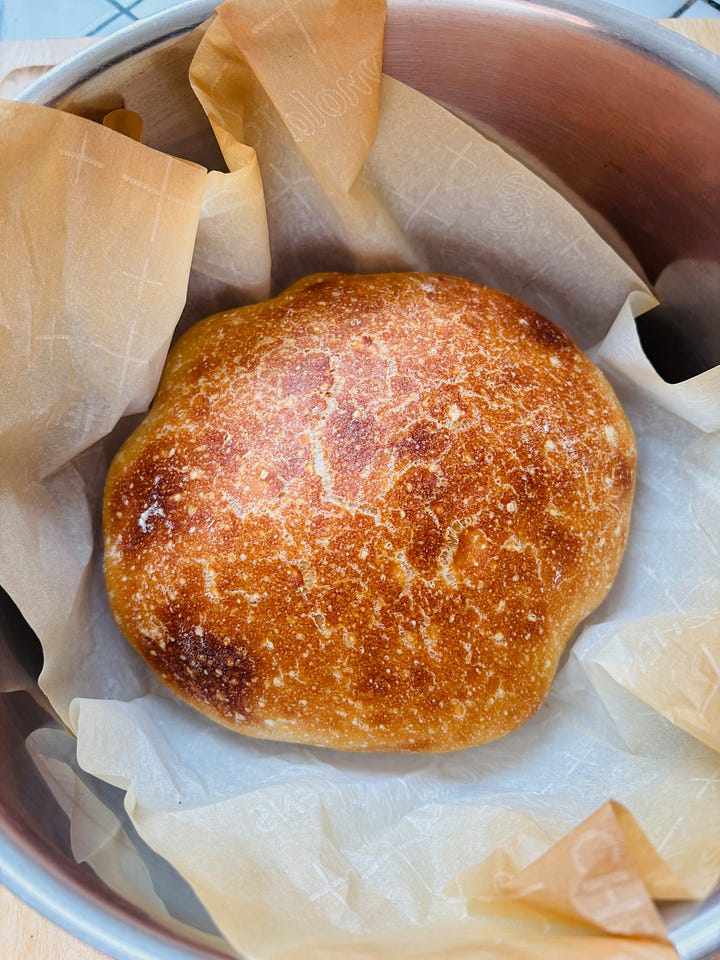
While the dough proofs, heat the oven to 475 F/245 C. Move the oven rack to the middle slot. Place a lidded Dutch oven or large ovenproof pot with a lid into the oven to heat as the oven heats. Once the dough is ready, remove the Dutch oven from the oven and remove the lid. Carefully lift the parchment, using it as a sling, and place the dough inside the Dutch oven. Put on oven gloves to replace the lid (remember, it’s hot!). Return the pan to the oven.


Bake for 30 minutes, then remove the lid. Bake for another 10 to 15 minutes or until medium-dark brown and the top of the bread sounds hollow when tapped with your fingertips.
Remove from the oven. Place the bread on a wire rack to cool. I know it’s hard, but wait at least 1 hour before slicing. The bread continues to cook and evenly distribute internal moisture as it cools down. If you slice into the bread prematurely, the result is a gummy texture, and you will be sad.
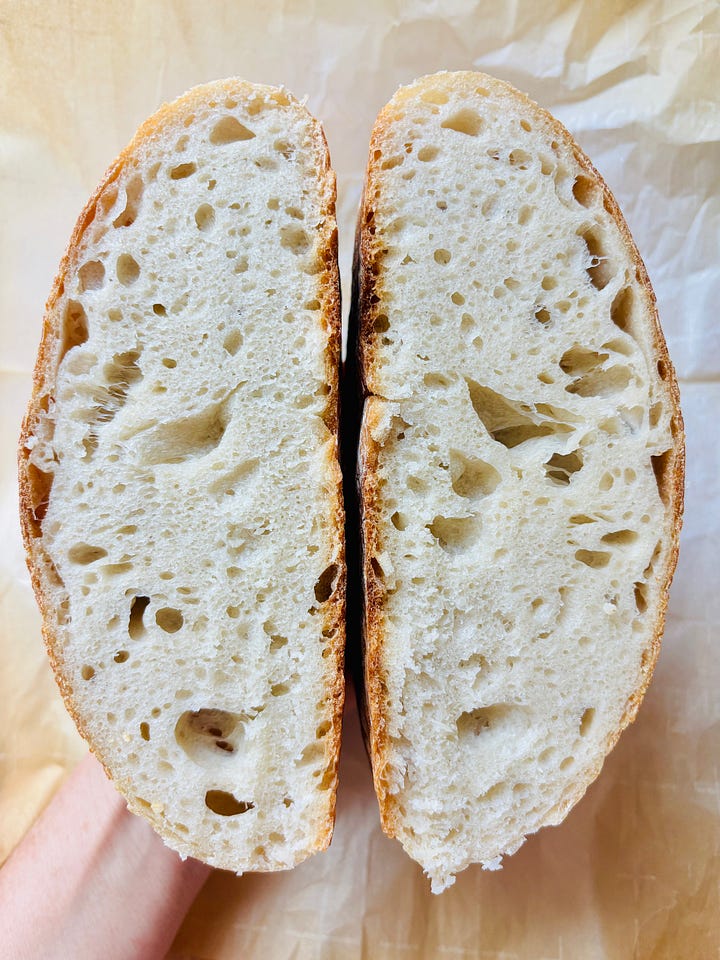
Slice with a serrated-edge knife. Or pull apart into chunks. There’s no wrong way to do this. Store any leftover bread in a bread box or Ziploc bag.


Ideas for This Bread
Assuming you don’t devour the bread just as it is, I suggest the following.
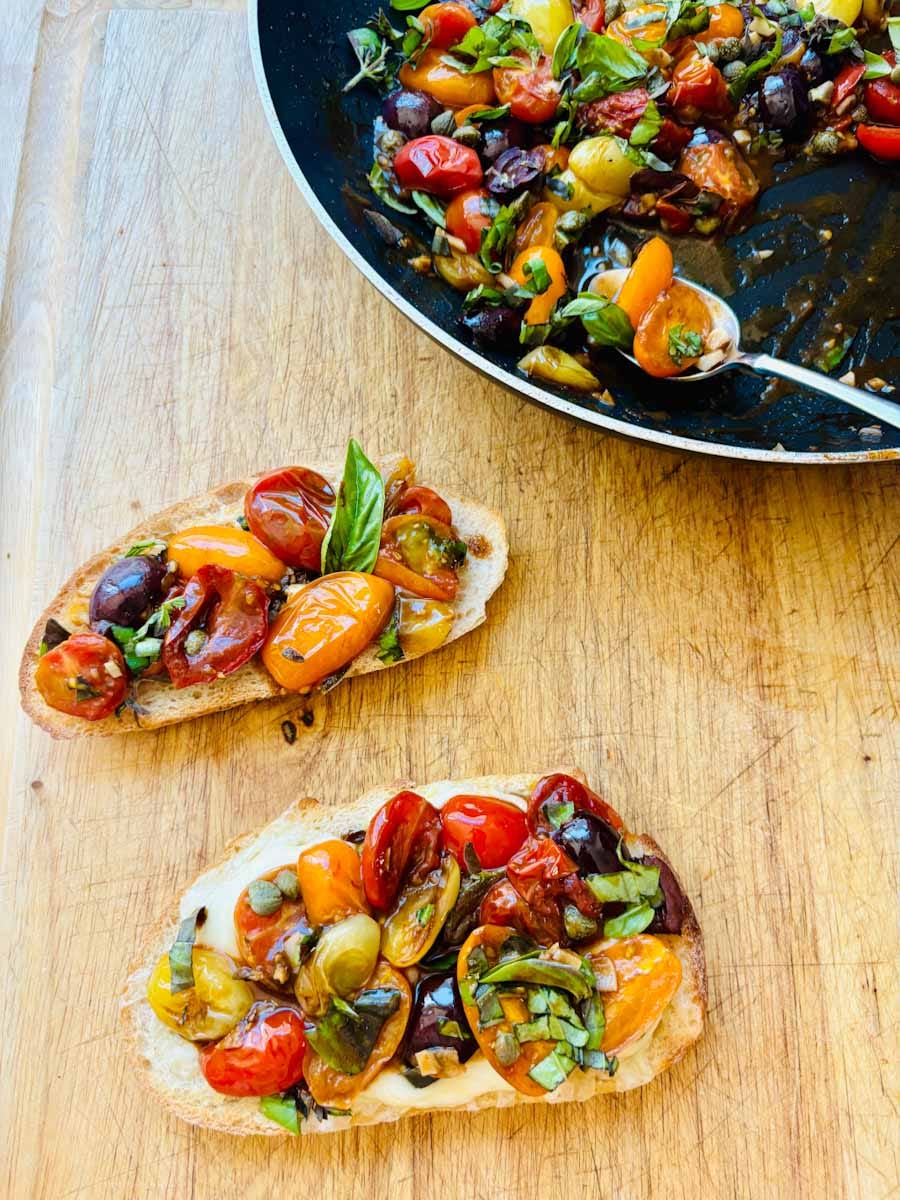
Balsamic Tomato Toast is sunny and beautiful, a perfect use for late-season tomatoes.

Kimchi Grilled Cheese Sandwiches are a no-brainer, especially if you made some during the kimchi-making workshop a few days ago!
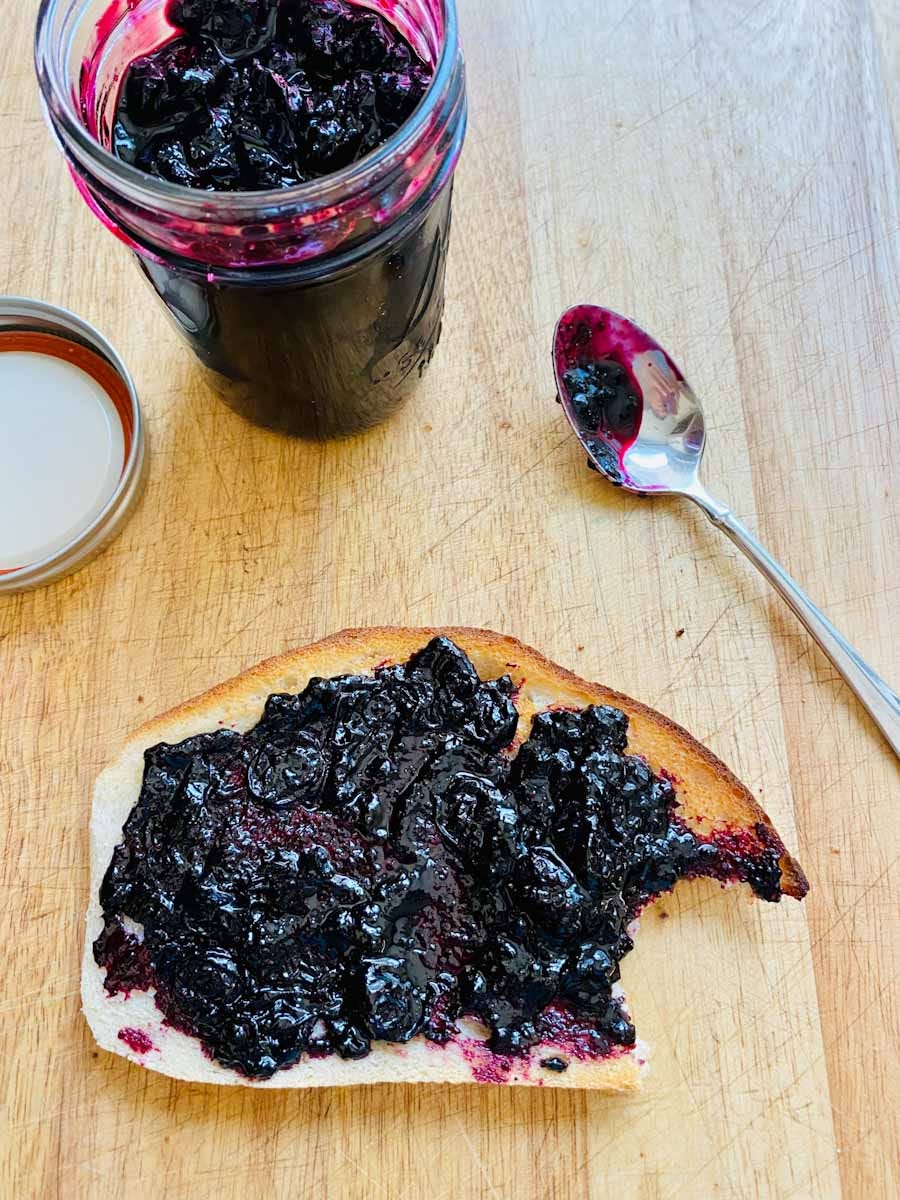
Slather on Homemade Blueberry Jam with Rum, an easy-to-make jam that takes less than 30 minutes.
Tell Me
Have you baked with poolish or another preferment? I’d love for you to leave a comment about it.
And just a reminder that I have a virtual tip jar: Buy Me a Coffee. Leave any amount you’d like. It helps me stay caffeinated (maybe with an iced horchata shaken espresso?) as I recipe test and write newsletters. Thanks in advance!
Coming next week: Tacos! We can never go too long around here without a taco recipe, lol! This one is veggie-centric and includes a fermented garnish. See you next Friday.
So much fun delicious projects happening, and this yummy bread is so versatile and scrumptious too! Thank you for sharing-
Nice! Such a small amount of commercial yeast, it’s basically sourdough bread (if you do decide to keep a starter, you can store as little as 30g in the fridge, and feed it once a week or less — I often forget it in there — and it’ll still make great breads, pizza, focaccia etc 🤍)